
Tutorial: Adding Custom Search to Flexmonster Pivot Table & Charts
Flexmonster Pivot Table & Charts is a feature-packed reporting component. However, we do not limit the opportunity to customize and implement specific features. Flexmonster has enough flexibility to support your application’s logic and adapt to how it works. So you can extend the functionality and user interface the way you need.
This tutorial will show you how to add a custom search for Flexmonster Pivot Table & Charts instance, like in the following demo:
Built-in functionality
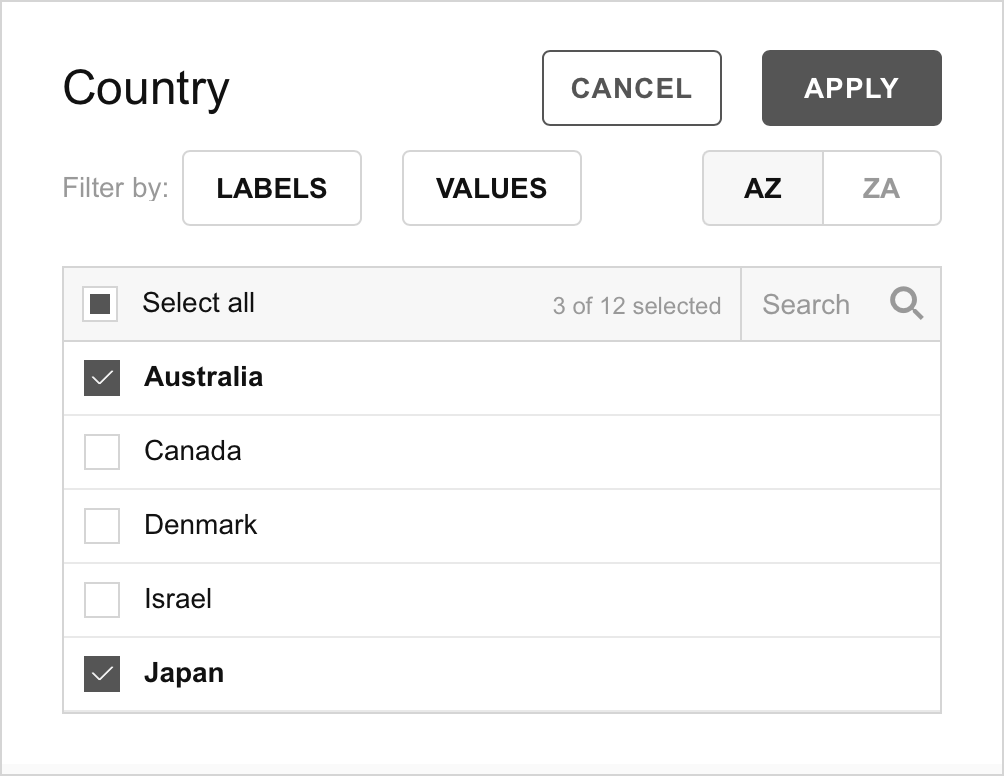
In Flexmonster, fields can be filtered using the filter view. You can open it by clicking the field’s name. In the filter view, users can search for the needed field member via the search bar and then filter the data by it.
You can use the filter logic and Flexmonster full-functional JavaScript API to implement your own control. For example, by integrating a search input field, so the users can dynamically filter the data displayed in the pivot table based on their input. Let's try it out!
How to add a custom search?
After embedding Flexmonster and connecting to the data source, add the custom control to the page, in our case — an input field that will become our search bar.
<input name="search" type="text" id="search" placeholder="Search..." />We will implement a custom search using the setFilter API call. The idea is to use the contain query filter property and filter the data on input change. It can look like this:
const searchElement = document.getElementById("search");

searchElement.addEventListener("input", function(event) {
const inputValue = event.target.value;
setFilter(inputValue);
});

function setFilter(input) {
flexmonster.setFilter("Country", {
query: {
contain: input,
},
});
}
Run your project, and you should see an input field on top of the grid. You can customize it to fit your application's look and feel or take a look at other API references to add some more functionality.
To conclude
You can also check the JSFiddle itself to see the full code and play with it. Feel free to customize the described approach for your use case and share it with us! We are always happy to see how our users work with the component.
To see more examples of Flexmonster usage, check out our Example page. For more advanced features and customization options, refer to the Flexmonster documentation.