Filter by selection allows choosing specific field members to display.
Visit our Examples page for live examples that demonstrate how to filter in Flexmonster.
The filter by selection can be used to:
The filter by selection is available for all data sources.
Note For the custom data source API, the filter by selection must be implemented on your server. For more details, refer to the Configuring filters guide.
The filter by selection can be applied via UI, in the report, or using API:
Selection filter can be applied via UI in the following ways:
Step 1. Open the filter view by clicking the field’s name or using the field’s context menu. You can resize the filter view using its window borders.
Step 2. Use the checkboxes to select field members that should be displayed or hidden.
You can also filter members using the search box. For more details, refer to the Advanced tips guide.
The screenshot below shows an example of a filter configuration:

Step 3. Once the filter is configured, click the Apply button to save your configuration.
Open a field member’s context menu and choose one of the following options:
If you want to preset a filter in your report, we recommend the following approach:
Your report will now contain the filter configuration. If needed, you can edit the filter configuration programmatically. To learn more, see the FilterObject.
If the filter by selection contains only non-existent members, it is ignored and all the field members are displayed. To change this behavior and show an empty grid, see the Advanced tips guide.
To set or change the filter at runtime, use the setFilter() API call:
pivot.setFilter("Country", {
  members: [
    "country.[poland]",
    "country.[uk]",
    "country.[ukraine]",
  ],
});
You can view the existing filter configuration using the getFilter() method.
If the filter by selection contains only non-existent members, it is ignored and all the field members are displayed. To change this behavior and show an empty grid, see the Advanced tips guide.
Note Filter by selection is ignored for fields with only one member.
Learn how to clear the filter by selection:
Right-click a cell with the field’s member to open the context menu. Then, select the Clear filter option.
Step 1. Open the filter view by clicking the field’s name or using the field’s context menu.
Step 2. Select the Select all checkbox to choose all members:
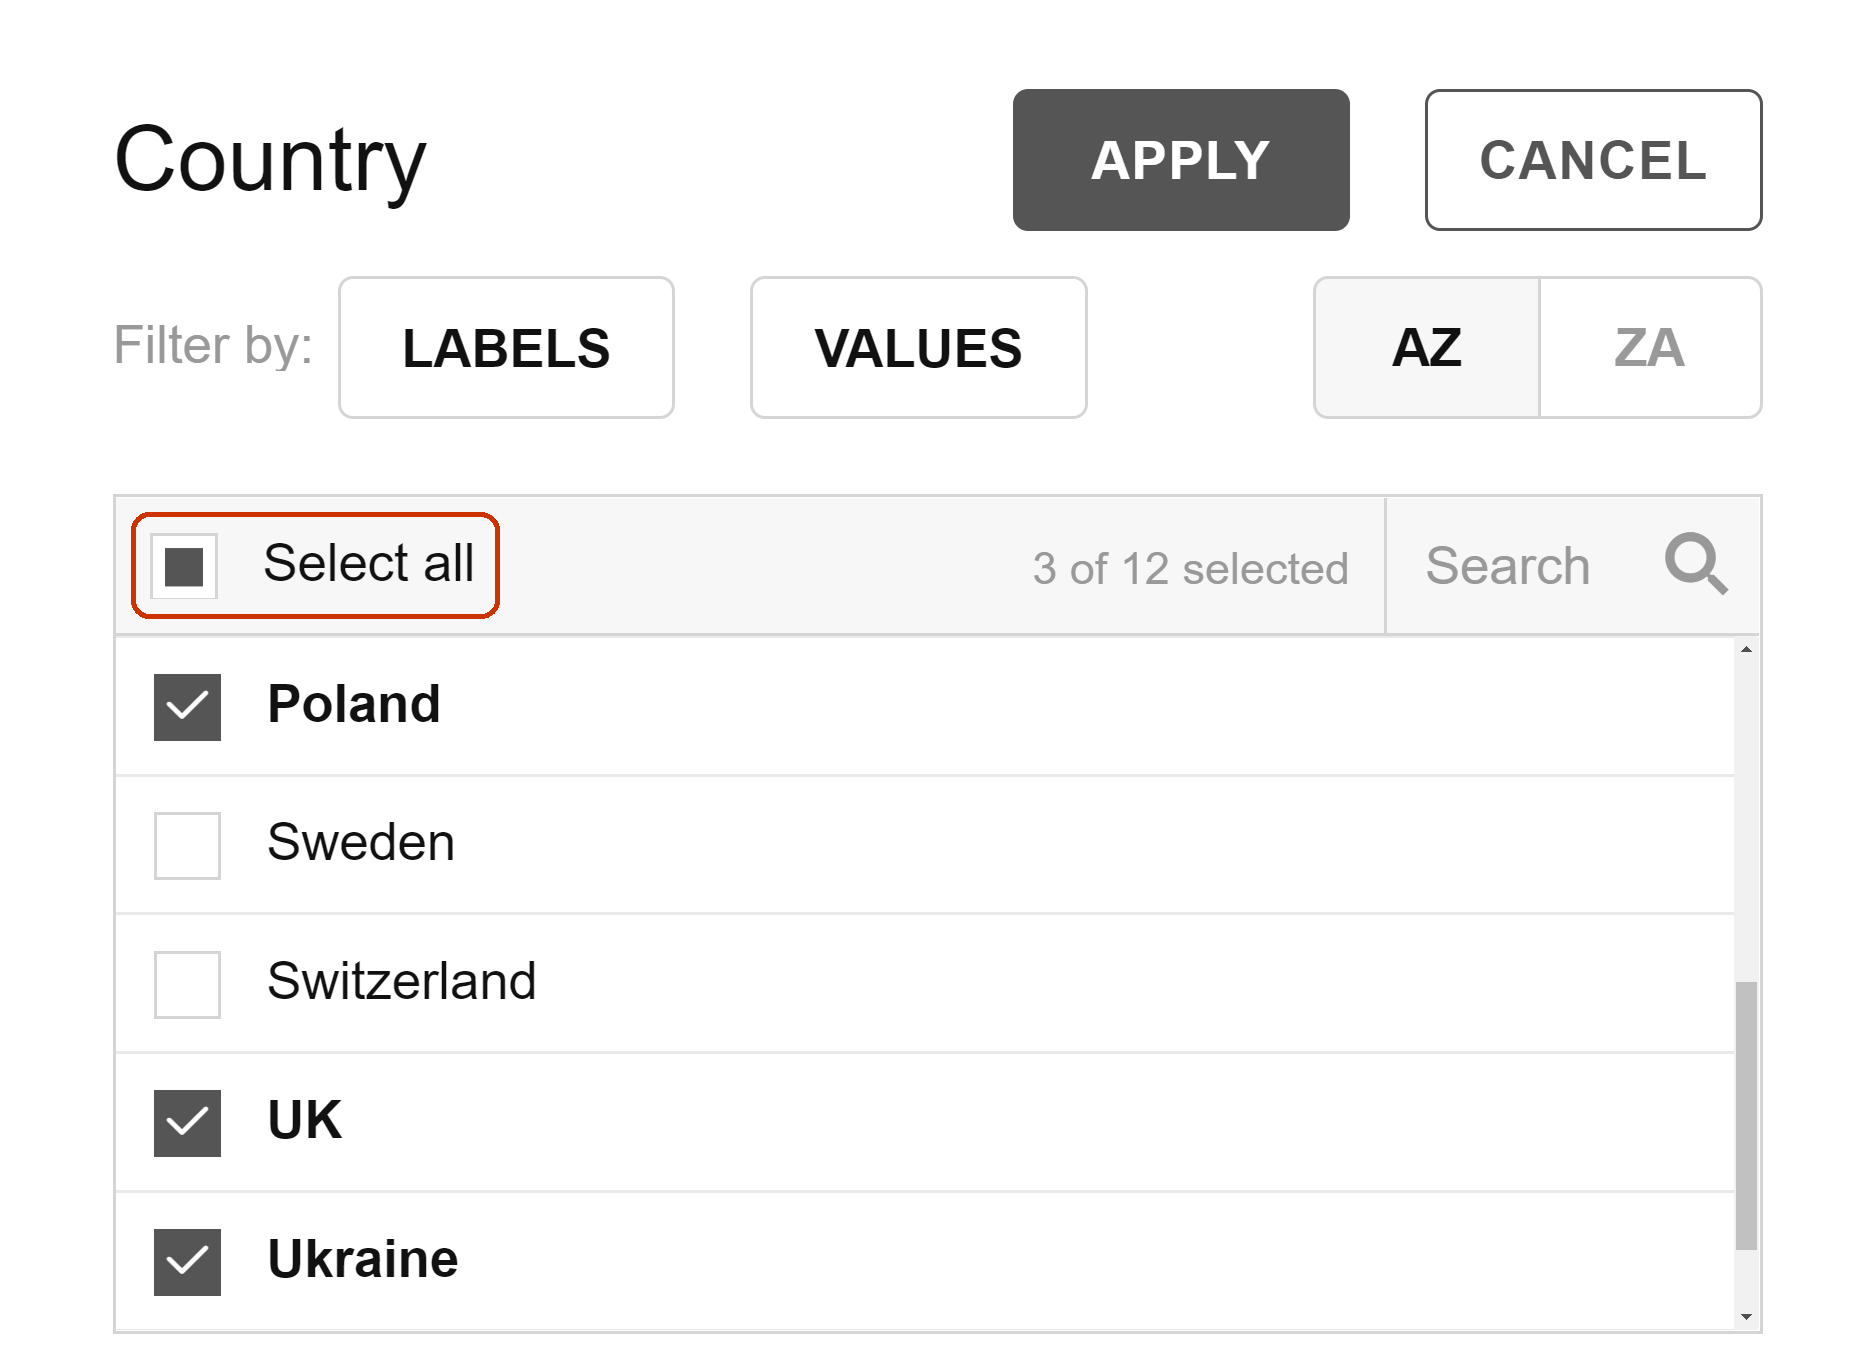
Step 3. Click the Apply button to save your changes.
You can clear all filters from a field using the clearFilter() API call. For example:
pivot.clearFilter("Country");To specify whether the search in the filter pop-up window is performed while the user types (true) or after the Enter button is pressed (false), configure the filter.liveSearch option:
options: {
  filter: {
    liveSearch: false,
  }
}By default, if the selection filter contains only members that do not exist in the dataset, Flexmonster ignores it and displays all field members. To change this behavior so that an empty grid is shown instead, set filter.allowEmptyMembersFilter to true:
options: {
  filter: {
    allowEmptyMembersFilter: true,
  }
}Note This option works only for "json" and "csv" data source types.
When a selection filter is applied to a field at runtime, the report contains either the members or exclude configuration, depending on which list of members is shorter:
members configuration with the selected members.exclude configuration with the unselected members instead.Can't find your answer here?
Visit the FAQ page
Flexmonster Pivot Table & Charts is a JavaScript pivot table component for adding interactive reporting and data analysis to web applications. Users can summarize, filter, sort, and explore data in pivot tables and charts, drill into results, and export reports.

